

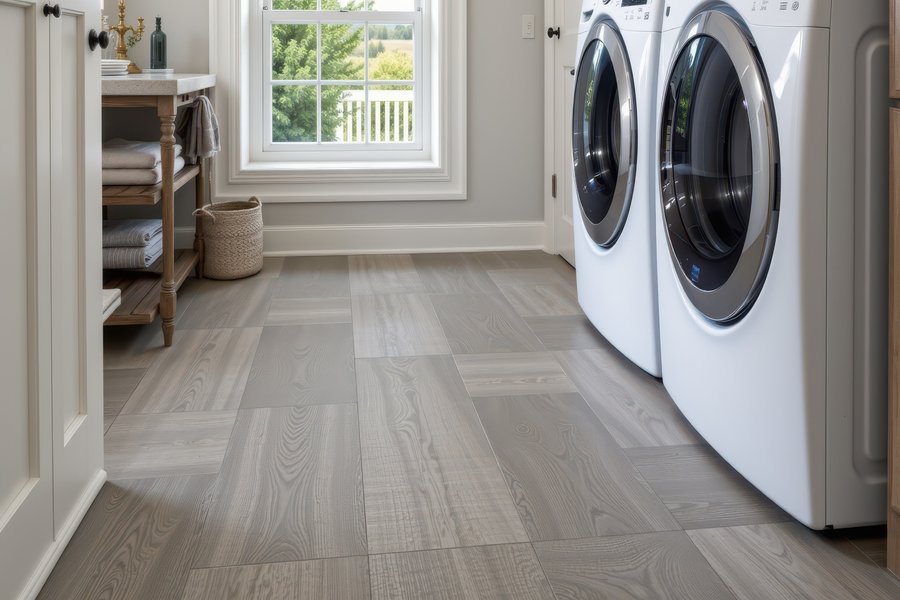
A laundry room takes more moisture punishment than almost any other space in the home. Between washer overflows, damp clothes, steamy dryers, and the occasional leaky hose, the floor under your machines quietly absorbs years of wear. Giving it proper waterproof protection from the start saves you from warped planks, musty smells, and expensive repairs down the line.
We at Carpet Den Interiors have been helping homeowners across Nashville, Franklin, Murfreesboro, Spring Hill, and Green Hills solve exactly this kind of challenge for more than 46 years. As the number 1 flooring retailer in Tennessee, our team walks you through every choice with care. Waterproofing a laundry room is simpler than most people think, and the right five steps make all the difference.
Step 1: Prep the subfloor before anything else
A truly waterproof floor starts well below the surface. Before a single plank goes down, the subfloor needs to be clean, dry, and perfectly level. Any dips, gaps, or leftover adhesive can trap moisture later and shorten the life of whatever you install on top.
Our flooring experts always recommend checking for hidden damage first. If the existing subfloor shows any soft spots, water stains, or rot, those areas should be cut out and replaced. A fresh, stable base is the single most important thing you can do for long-term performance.
Step 2: Choose the right waterproof material
This is where the magic really happens. True waterproof flooring is built to resist full submersion, not just surface spills, which is exactly what a laundry room demands. Unlike water-resistant options that swell or peel over time, these floors hold their shape even under standing water.
Two standout choices for laundry rooms are luxury vinyl and porcelain tile. Luxury vinyl gives you the beauty of wood or stone with a fully impervious core, while porcelain tile brings classic durability that laughs at moisture. Both look stunning and stand up beautifully to everyday laundry room life.
Step 3: Seal every seam and edge
Even the best waterproof material can let moisture creep in if the seams are ignored. Edges along walls, transitions to other rooms, and spaces around pipes all need proper sealing to keep water from sneaking underneath. A quality silicone caulk is usually the right tool for this job.
Step 4: Protect the walls and baseboards too
Waterproofing is not only a floor conversation. Splashes from the washer and humidity from the dryer often hit the bottom few inches of the wall, which can lead to swollen baseboards and peeling paint. Sealing the joint between the floor and baseboard creates a tight, finished barrier that protects your whole room.
Step 5: Let the pros handle installation
This is the step that quietly separates a laundry room floor that lasts a decade from one that fails in two years. Precise cuts around pipes, properly acclimated materials, and tight seams require a trained hand and the right tools. A professional installation team catches the small details that make the whole system truly watertight.
A few smart extras worth considering
A drip pan under the washer adds a second line of defense, and a small floor drain can be a wonderful upgrade during a renovation. Good lighting and a fresh coat of moisture-resistant paint finish the space beautifully. These little touches turn a functional laundry room into one you actually enjoy walking into.
Visit our showroom and see the options in person
Picking the perfect waterproof floor is so much easier when you can feel the samples and talk through your space with someone who truly knows flooring. Come by our Franklin showroom or take advantage of our shop at home service, and our designers will help you find a look that fits your style and your budget. We would be delighted to make your next laundry room renovation the easiest project on your list.


